Getting Started with Gift Baskets
Ready to build your first homemade gift basket? Here are the fundamental steps from first idea to finished creation, so you can move forward with confidence.
The Core Idea
Every good gift basket starts with a simple concept: pick a theme, choose complementary items that support it, and present them attractively in a container that fits the occasion. Whether you're planning something for a birthday, a holiday, or a special recipient, keeping these basics in mind makes the whole process easier and more enjoyable.
There's no need to overthink it. A clear theme naturally guides your choice of container, filler, and gifts, so decisions become quicker and the finished basket feels cohesive rather than thrown together.
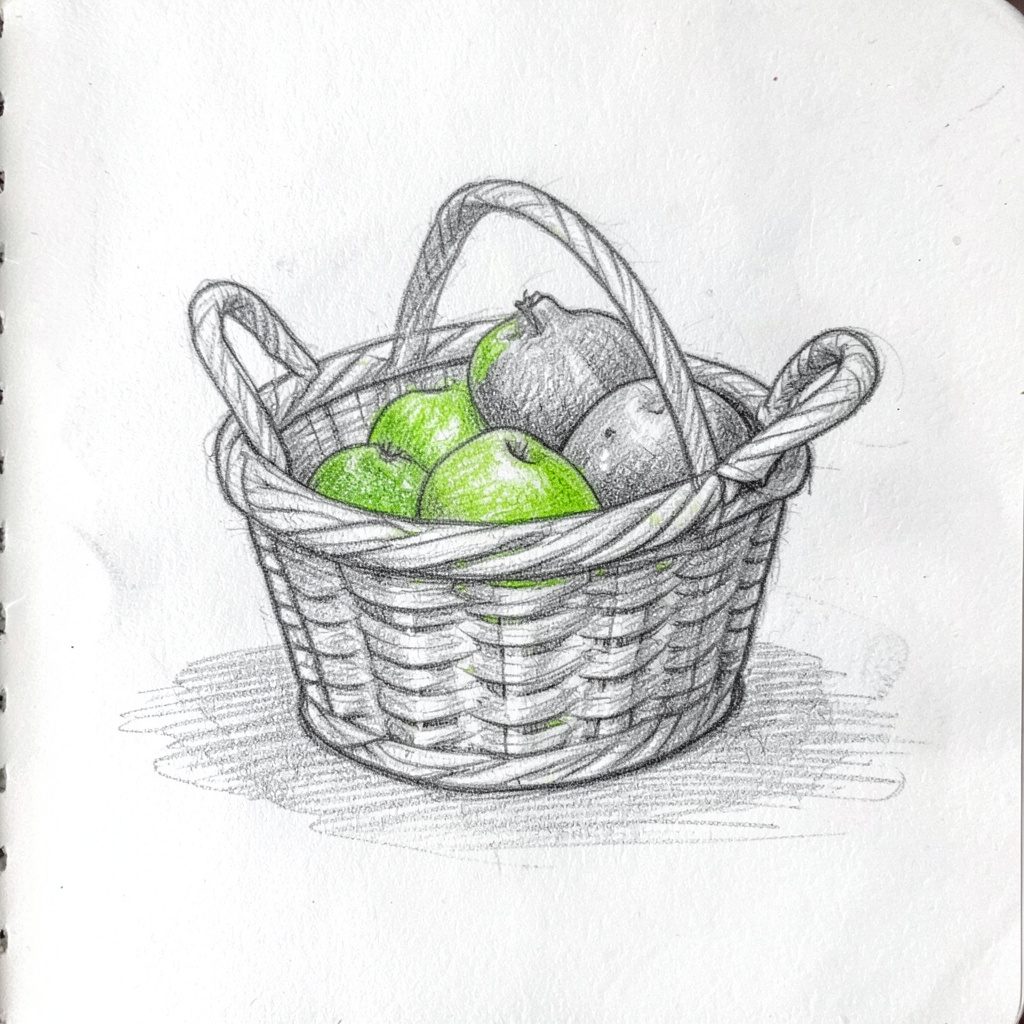
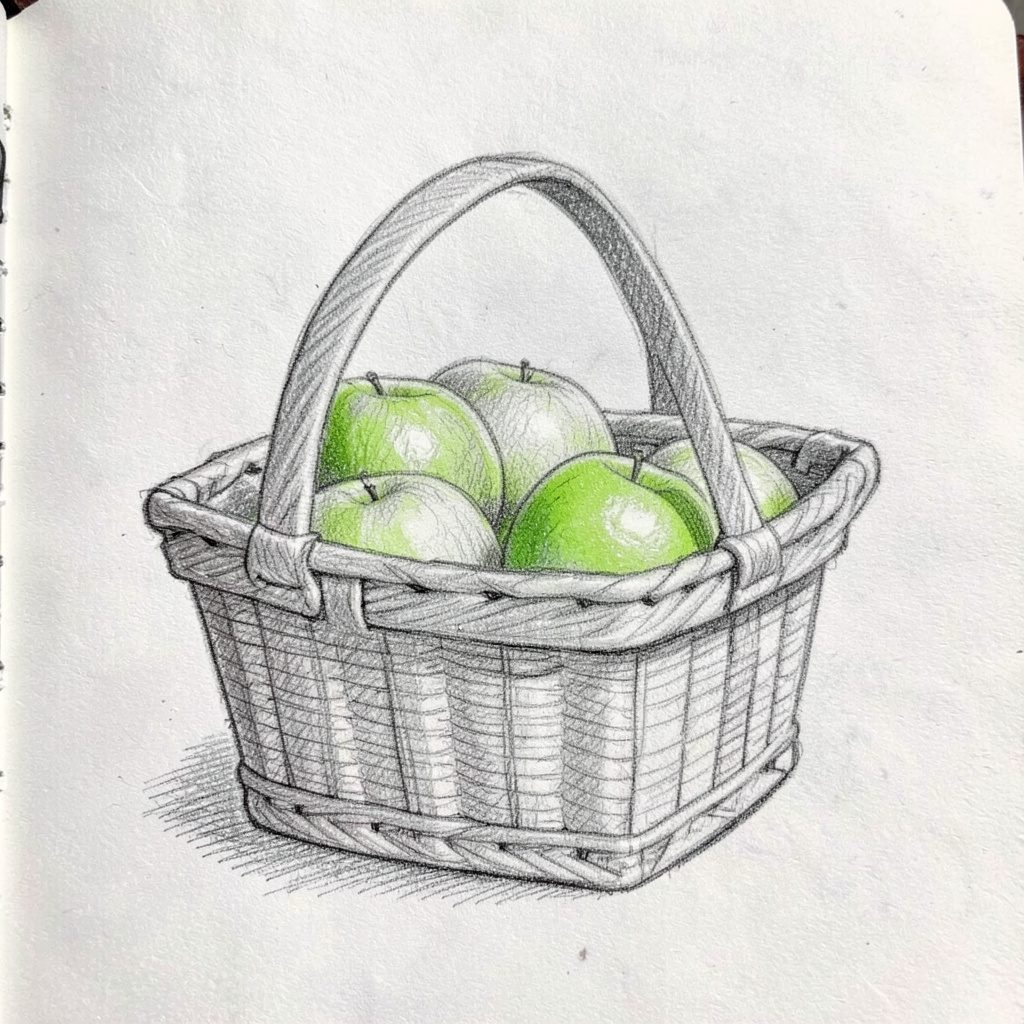
Choosing the right container is often the first step in building a homemade gift basket that feels intentional and polished. A simple basket, decorative box, or sturdy bag can all work beautifully when it suits the theme and the items inside. Many crafters keep a small selection of containers on hand so they can match the shape and size to whatever celebration is coming up. A little thought at this stage saves time later, because the rest of the choices fall into place more naturally once the foundation is set. Selecting items that support the same theme is what turns a collection of products into a cohesive gift. Browsing through themed lists, jotting down a few favorite ideas, and mixing homemade touches with purchased pieces often produces the most charming results. Tucking in small extras that reflect the recipient's interests gives the basket personality without requiring extra effort. Keeping the assortment balanced, rather than crowded, helps every element stand out and makes the finished basket feel curated rather than overfilled. Finishing touches bring the whole creation together and give it a professional, gift-ready appearance. Tying a simple bow, adding a short handwritten note, or wrapping the container in a sheet of coordinating tissue can transform even the most casual arrangement into something delightful. A few loose ribbons or a small tag tucked among the items often completes the look without any fuss. Taking a moment to step back and adjust the presentation before giving the basket helps ensure the final result feels both thoughtful and celebratory.
Starting your first homemade gift basket is less about spending heavily and more about shaping a clear, simple theme that ties everything together. Begin by picturing the recipient and the occasion, then jot down a short list of items and flavors that fit that feeling. A modest selection of coordinated goodies, nestled into a container that suits the mood, often feels more thoughtful than a crowded assortment. Keeping the concept focused also helps you stay relaxed during assembly, so the finished basket reflects care rather than rush.
Once the theme is set, gather your supplies before you begin arranging, so the process feels smooth and enjoyable rather than fiddly. Have your container, filler, a few treats or small gifts, and finishing touches like tissue or ribbon within reach on a clean workspace. Build from the tallest or most eye-catching pieces first, then nestle smaller items around them, adjusting until the composition looks balanced from every angle. A little patience at this stage is what gives a homemade creation that lovely, gift-ready glow.
Three Steps to Begin
- Choose your theme. Decide who the basket is for and what occasion it marks — this shapes every choice that follows.
- Select the right container. Look beyond the traditional basket shape; boxes, bags, and unusual containers can all work well depending on your theme.
- Gather your supplies. Collect filler, wrapping materials, ribbon, and any finishing touches before you start assembling.
Why These Basics Matter
Getting the fundamentals right early on saves time and frustration later. A well-chosen container that suits your theme, paired with the right supplies on hand, means assembly goes smoothly and the final result looks intentional and polished rather than rushed.
Once you're comfortable with these first steps, you can explore specific themes and occasions with more confidence, adapting the same basic process each time.